Windows Clients
Setup
Windows clients can be installed from:
The XLReporter installation by setting the Edition to Windows Client.
Copy setup.exe out of the C:\XLReporter\team folder on the server machine to a flash drive or directly to the client machine.
Open a web browser and navigate to the URL http://<server>/ XLRweb/Setup.htm. The <server> identifies the server hosting the team portal e.g., Computer Name or an IP address.
Click the Install button on the web page. This downloads setup.exe to your system.
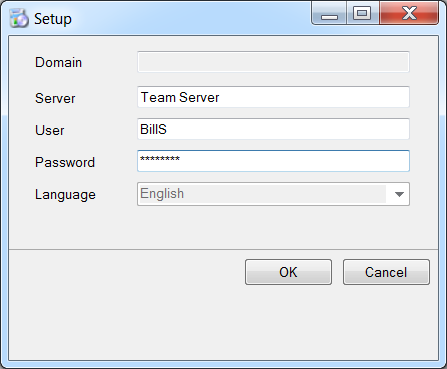 |
Specify a valid User and Password, select the Language, and click OK to install the software.
Note, if the website that the XLRweb application is installed under is not using port 80, the port number must be specified as part of the Server setting. For example, if the website is using port 81, the Server setting above would be:
TeamServer:81
Alternatively, if the IP address where used, the format would be:
IPAddress:81
When the installation is complete, open the Start menu and under the XLReporter program group, click on Distributed Client. All applications are available from the Distributed Client.
Distributed Client
The Distributed Client gives easy access to the application running on the server. It is also where users log on and off the system. This must stay opened in order to remain logged in and use any of the applications provided. Once it is shut down, the user is logged off and any XLReporter application running is immediately closed.
The application is opened from the Start menu in the XLReporter program group
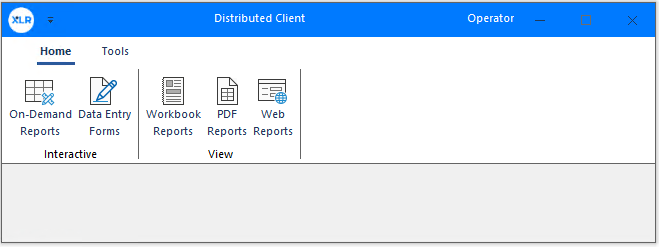 |
When opened, you are prompted to log in. Once logged in, the user name is displayed in the title bar.
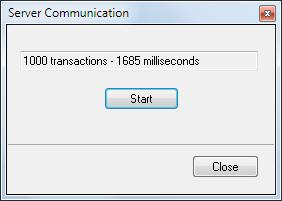
To confirm the communication between the client and the server, select Tools, Test Communication.
 |
For more information on the applications opened, see the Project Explorer documentation.
Minimizing the Dialog
By default, this dialog remains on the top of all other windows. Since it must stay open to remain logged in, you can minimize it to the task bar.