Step-by-step Upgrade Process
Download the installation package -> WIN-911 Download Page
Extract the Installation package zip file, ensure it is not “blocked” by checking the file’s properties. The blocked message would show up in the red square in the image below:

Create a backup of current data using the WIN-911 Backup Restore Utility.
Now run the WIN-911 Install.exe inside the WIN911 installation package as the account currently running WIN-911.

Click Install if prompted to install .NET upgrades.

Select continue after the installation finishes.

Select Next after confirming your desired Language.

WIN-911 2023 (R1) does not support AVEVA Edge/Web Studio or CIMPLICITY. If either of these modules are installed, uninstall them to run the upgrade, or wait for a later release.
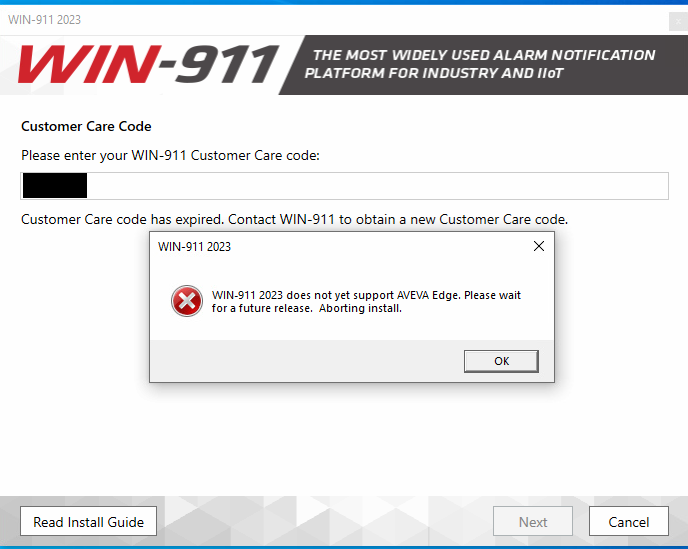
Key in your current valid Customer Care Code and click Next. Accept the License Agreements and click Next.

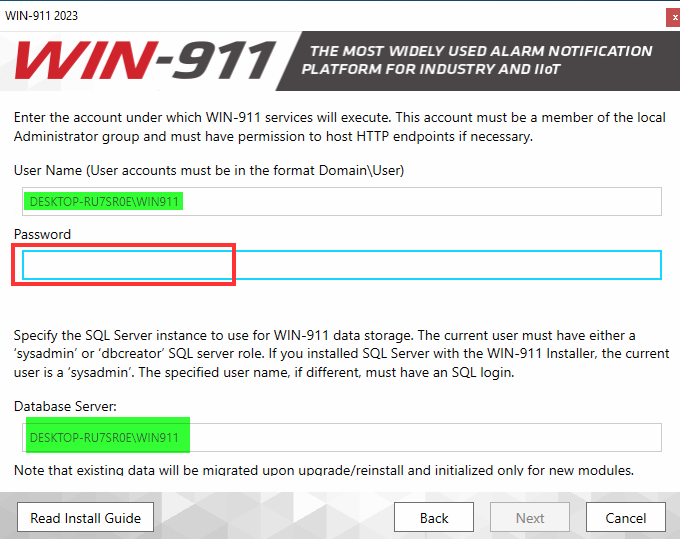
Confirm and enter in the password for the account running WIN-911 services, confirm the correct SQL instance is selected, and click Next.
Note
The account running the WIN-911 installation and the account that will run WIN-911 services must have the SysAdmin role. Permissions can be altered after installation.
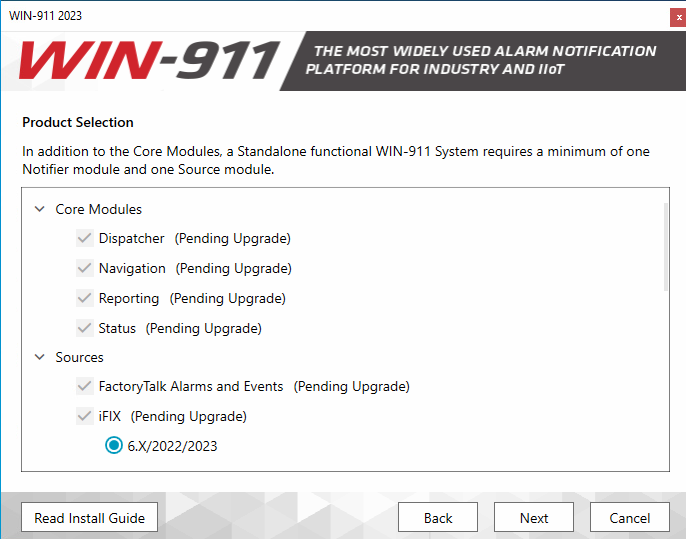
All installed modules will show up as (Pending Upgrade). You may select new modules to install as desired at this time. Click Next after confirming or making selections.
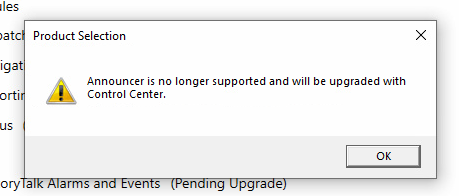
Click OK on the Announcer pop up window. Announcer is now part of WIN-911 Control Center.
Note
Any installed Announcer software will be uninstalled automatically.
After the Installation is completed, launch WIN-911 Workspace and ensure all data has migrated properly. Passwords to SCADAs and some Gateways may need to be re-entered.